
3D printing or injection moulding: up to what quantity printing is economical
When a part is meant to go into series production, the question of injection moulding comes up. A simple calculation shows up to what quantity printing is the cheaper option. Using two typical parts, we show why the answer can vary.
How the costs add up
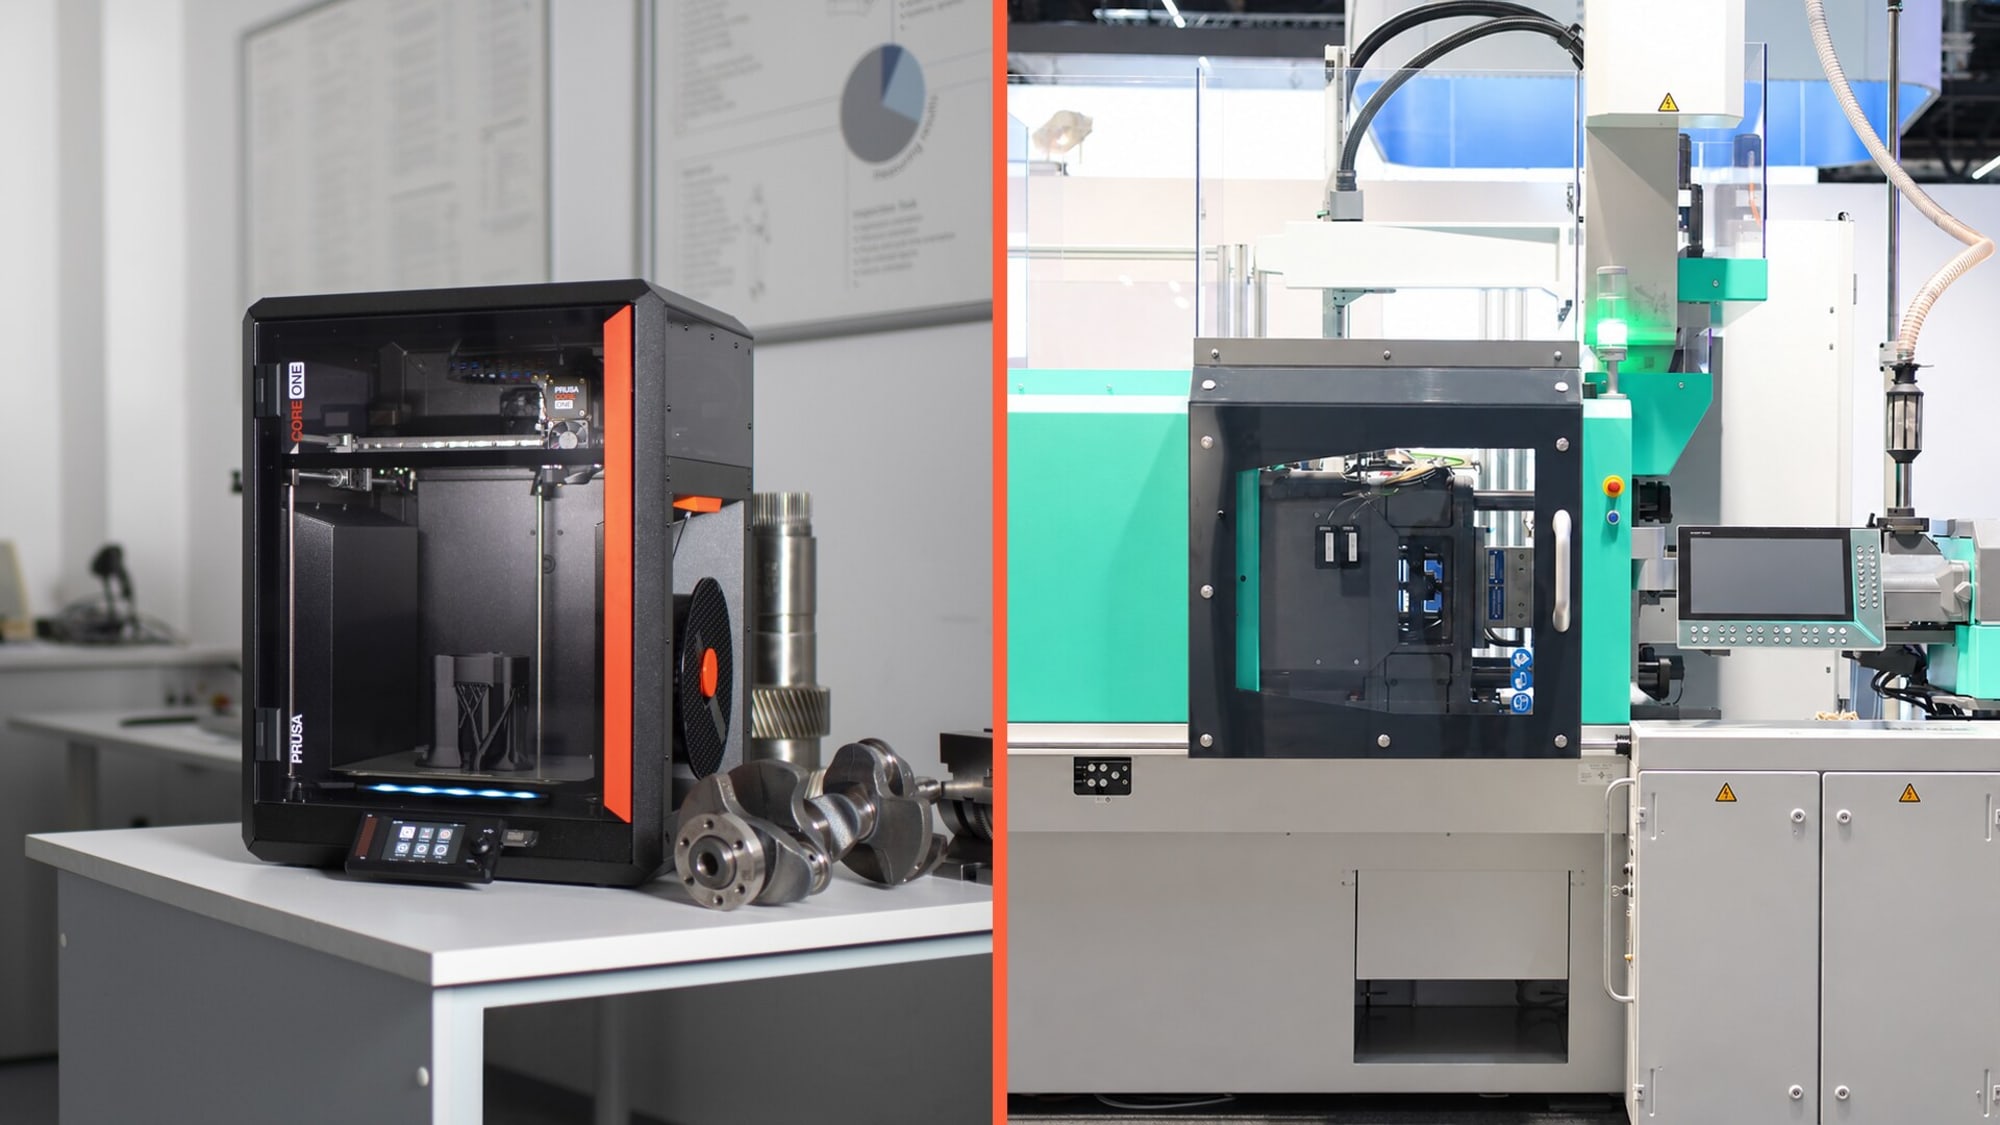
In 3D printing, the part is made directly from the file. We print with FDM, where a nozzle builds each part layer by layer. That is why print time grows with the number of parts. The price is made up of print time, material and an order fee that is spread across all parts in the order. The more parts, the smaller its share, until only print time and material remain.
In injection moulding, plastic is injected into a steel or aluminium mould. This mould, also called the tool, has to be built first and accounts for most of the cost. Aluminium moulds are cheaper and quicker to build, steel moulds last longer and pay off for large series. Once the mould is ready, a part takes seconds and costs anything from a fraction of a franc to a few francs.
What each process does better
3D printing
Your first part arrives within a few days.
For a change, we only adjust the file.
Cavities, undercuts and internal channels are possible, even where a part could never be released from a mould.
Variants and repeat orders come straight from the file, in any quantity.
Injection moulding
For large quantities, it has the lowest price per part.
The surface comes out of the mould finished, whether textured or high-gloss.
The part is almost equally strong in every direction. A printed part is weaker across its layers, so we orient it according to the load when printing.
Large quantities are produced in a short time.
The calculation
Whether a mould pays off depends on three figures: what the mould costs, what a moulded part costs and what a printed part costs. Together they give the quantity from which injection moulding becomes cheaper:
Mould cost ÷ (price per printed part − price per moulded part)
The calculator shows you the price per printed part for your quantity; the other two figures come from the injection moulder. Two typical examples show how much this threshold varies from part to part.
Example 1: a spacer sleeve
A PETG sleeve, 12 mm in diameter, 20 mm long, weighing around 2 g. Several hundred fit on one build plate, and each takes around eight minutes. From a few hundred pieces, it costs less than one franc to print. The price then consists almost entirely of print time.
For such a simple part, an aluminium mould is enough. Toolmakers quote prices from around CHF 5,000, and a moulded sleeve then costs a few centimes. That is why the threshold only comes in the five-digit range.
Example 2: a sensor cover
A weatherproof ASA cover, about 15 × 10 × 6 cm, weighing around 120 g. Two fit on one build plate, and each takes around four and a half hours. Even in large quantities, it stays above ten francs per part to print, because every cover needs its own print time.
The mould is larger, and the snap-fit hooks need side actions. We calculate with around CHF 20,000. A moulded cover then costs about two francs. Here the threshold lies in the low four-digit range.
When the mould catches up
- Print, minutes per part
- Injection moulding
- Print, hours per part
What makes the difference
The deciding factor is print time per part. A full build plate shares the order fee and set-up, but every part needs its own print time.
As a guide: for small parts that print in minutes, a mould often only pays off in the five-digit range. For larger parts with several hours of print time, the threshold tends to lie in the low four-digit range, and lower still with a cheaper mould.
For large quantities, lead time often becomes the topic. Ten thousand sleeves are well over a thousand hours of printing. We then agree the delivery date with you.
What counts besides price
Changes: In injection moulding, every change to the part also means a change to the mould. In printing, a new file is enough.
Time: A mould takes weeks before the first part comes out of it.
Quantity over time: 1,000 parts spread over a year are different from 1,000 parts at once. With printing, you reorder when you need them. With injection moulding, a large batch that then goes into storage usually pays off.
Design: An injection-moulded part needs draft angles, even wall thicknesses and as few undercuts as possible. That is why a part designed for printing is usually redesigned for the mould, and that costs too.
The right moment
For tests, adjustments and small quantities, printing is often the right place to start. Once the design and quantity are fixed, the three figures above show whether a mould pays off.
As long as the part is still changing, printing gets you to the next version fastest.
Takeaways
- In printing, costs arise per part; in injection moulding, mostly in the mould.
- Print time per part is what decides: small parts stay cheap to print in large quantities, while for large parts the mould catches up sooner.
- For prototypes and variants, printing is the more economical choice.
Where does your part stand?
Upload your model to the calculator and try out different quantities. You will see straight away how the price per part develops. Have an idea or a sample? Tell us what you need.